Rock Painting for Beginners: Calm, Easy Designs
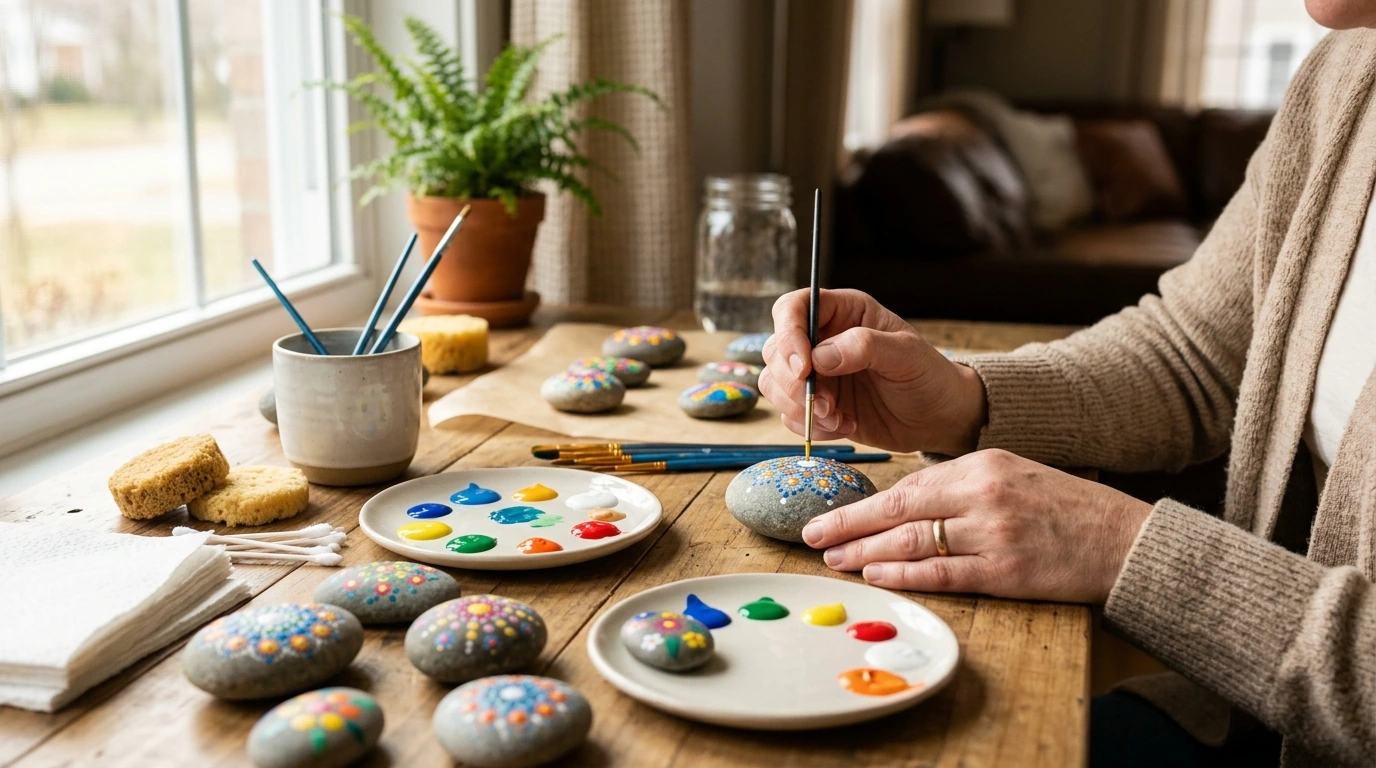
Tiny Canvases, Big Joy: A Beginner-Friendly Guide to Painting Rocks for Creative Relaxation
Painting rocks is a simple, low-pressure craft that turns everyday stones into tiny keepsakes, gifts, or cheerful “hide-and-find” surprises. With a few basic supplies and a calm, step-by-step process, beginners can create clean designs, soothing patterns, and bold mini artworks—no drawing background required. The best part: rocks are naturally small, so each project feels doable, even on a busy day.
Why rock painting feels so calming
Rock painting is one of those hobbies that naturally nudges you into a slower rhythm—without demanding perfection.
- Small surface, small decisions: a rock limits options in a comforting way, making it easier to start and finish a piece.
- Hands-busy relaxation: repetitive brushstrokes, dots, and simple shapes encourage a steady pace and a quieter mind.
- Fast wins: most designs can be completed in a single sitting, helping build confidence through quick completion.
- A gentle path back into creativity: unlike a blank canvas, the rock’s shape suggests what it wants to become (ladybug, mandala, landscape, message stone).
Creative activities are often used as supportive tools for emotional well-being. If you’re curious about the broader idea, the Cleveland Clinic offers a helpful overview of art therapy and how making art can support mental health.
Supplies that keep it beginner-friendly
You don’t need a studio setup. A small, practical kit is enough to make rocks look bright, clean, and gift-worthy.
- Rocks: smooth, dry stones with a flatter “front” paint easiest; river stones and landscaping pebbles are great starters.
- Paint: acrylic craft paint is the most common choice for coverage, color variety, and ease of layering. (Learn more about acrylic paint and why it’s so versatile.)
- Brushes: a medium flat brush for base coats, a small round for details, and an optional liner brush for thin lines.
- Dot tools (optional): a stylus, the end of a paintbrush, toothpicks, or cotton swabs for crisp dots.
- Palette + water cup: a plate or palette paper works; keep a paper towel nearby for brush control.
- Primer/base coat: white acrylic paint or gesso helps colors pop, especially on darker stones.
- Sealant: a clear topcoat adds protection and can increase color depth; choose indoor vs. outdoor based on where the rock will live.
Simple starter kit vs. nice-to-have upgrades
| Item | Starter choice | Upgrade option | Why it helps |
|---|---|---|---|
| Paint | Acrylic craft paint (basic set) | Heavy-body acrylics or paint markers | Better coverage and sharper details |
| Brushes | 2–3 basic brushes | Detail + liner brush set | Cleaner lines and smoother fills |
| Tools | Toothpick/cotton swab | Dotting tools | Consistent dots and mandala patterns |
| Sealant | Indoor clear coat | Outdoor-rated UV/water-resistant sealer | Longer-lasting finish outdoors |
Prep steps that make designs look cleaner
A few minutes of prep can make the difference between “cute” and “surprisingly polished.”
- Wash and dry: scrub rocks with mild soap and a brush to remove dust; let them dry completely.
- Smooth if needed: lightly sand rough spots to avoid paint skipping on raised texture (wipe off dust).
- Choose a “front” side: set the rock down and pick the most stable face; this helps avoid wobble while painting.
- Base coat: apply 1–2 thin coats of white (or a chosen background color), letting each coat dry before the next.
- Plan for drying: place rocks on parchment paper or a non-stick mat so they don’t cling to the surface.
Three easy design paths (no drawing skills required)
If you’re not sure what to paint, choose one “design family” and keep it simple. Finishing one rock feels better than overplanning five.
A relaxed step-by-step workflow for one rock
Finishing, sealing, and safe sharing
- Choose the right finish: matte looks modern and soft; gloss intensifies color and makes details pop.
- Outdoor rocks need outdoor protection: use an outdoor-rated sealer if rocks may face rain, sun, or temperature changes.
- Let it dry fully between coats: multiple thin coats reduce tackiness and streaks.
- If hiding rocks in public: avoid placing them in protected natural areas; keep to appropriate community spaces and follow local rules.
- Keep it kid-friendly: supervise small tools, ventilate when sealing, and pick non-toxic paints when crafting with children. For basic ventilation guidance, the EPA’s overview of indoor air quality and ventilation is a solid reference.
A handy companion for beginners
If you enjoy having clear prompts (especially on days when decision fatigue is real), Tiny Canvases Big Joy – A Beginner-Friendly Guide to Painting Rocks offers structured ideas that help beginners move from simple patterns to more polished mini designs.
To stay comfortable during longer crafting sessions—especially if you like using an Apple Watch timer between coats—consider a softer band like the Corduroy Fabric Strap for Apple Watch or a simple option like the Premium Leather Strap for Apple Watch.
FAQ
What kind of paint works best for painting rocks?
Acrylic craft paint is the easiest choice for beginners because it’s affordable, widely available, and layers well. For crisp details, paint markers can be added after the base layers dry, and a white base coat helps colors look brighter on darker stones.
Do painted rocks need to be sealed?
Sealing helps protect the paint from scratches and can deepen colors, especially with a gloss finish. Use an indoor sealer for display pieces and an outdoor-rated UV/water-resistant sealer for rocks that may be placed outside, applying several thin coats with full drying time between them.
How do beginners make neat dots and lines on rocks?
Use dotting tools or simple substitutes like a toothpick, cotton swab, or the handle end of a brush, and turn the rock as you work to keep spacing consistent. Let layers dry before adding more, and clean up wobbly lines by repainting the background color once the detail layer is dry.
















Leave a comment