


DIY Sugar Scrub: Easy Ratio, Variations & Safe Use
A simple sugar scrub can smooth rough patches, refresh dull-looking skin, and make shower time feel like a mini reset. The best part is how customizable it is: you can keep it ultra-basic or add a couple of skin-friendly “boosters” for texture and scent. Below you’ll find a reliable ratio, ingredient options, safe-use tips, and easy variations—plus a repeatable printable guide if you want consistent results every time. For more guidance, see Homemade sugar scrubs for skin care – MSU Extension.
What a sugar scrub does (and when it helps most)
Sugar scrubs work through gentle physical exfoliation—tiny grains lift away surface flakes so skin feels softer and looks more even. Because sugar dissolves with water, it tends to be more forgiving than harsher exfoliants when used correctly. For further reading, see Homemade Sugar Scrub (2-Ingredients!) | Get Inspired Everyday!.
- Gently buffs away surface flakes so skin feels softer and looks more even.
- Helps prep skin before shaving by loosening dry buildup on legs and underarms.
- Can improve the feel of rough areas like elbows, knees, heels, and hands.
- Best used on body skin; facial use requires extra caution due to sensitivity.
For dermatologist-style basics on exfoliating without irritation, the American Academy of Dermatology Association has practical guidance on frequency and gentleness: AAD exfoliation tips.
Choose your ingredients: sugar + oil + optional boosters
A good scrub is really just two parts: the exfoliant (sugar) and the “slip” (oil). From there, optional extras can change the feel, scent, or finish. Keep add-ins simple, especially if skin is sensitive.
- Sugar: provides the exfoliating grains; grain size affects how gentle or intense the scrub feels.
- Oil: adds slip and helps reduce the “scratchy” feel while leaving a moisturized finish.
- Optional boosters: honey (humectant), vitamin E (antioxidant), essential oils (scent), citrus zest (fragrance, but can irritate), oats (soothing texture).
- Skip harsh add-ins: large salt crystals can feel aggressive on freshly shaved or easily irritated areas.
Common sugar scrub ingredients and what they’re best for
| Ingredient | Why it’s used | Best for | Notes |
|---|---|---|---|
| Granulated white sugar | Fine-to-medium exfoliation | Most body areas | Dissolves faster than salt; good all-purpose option |
| Brown sugar | Softer, gentler grains | Sensitive-leaning body skin | Slightly more moisture due to molasses; can clump—mix well |
| Coconut oil (melted/soft) | Slip + rich feel | Very dry areas | Can solidify in cool rooms; warm jar slightly to soften |
| Olive or sweet almond oil | Nourishing slip, less likely to solidify | All-over body | Start with less oil and add slowly to avoid overly runny scrub |
| Honey | Adds moisture and tack | Dry, dull skin | Use small amounts to avoid sticky texture |
| Essential oils (optional) | Scent and sensory experience | Aromatherapy-style use | Patch test; avoid if pregnant, very sensitive, or allergy-prone |
If you plan to label jars for gifting (especially if adding fragrance), it helps to keep ingredient lists clear. The FDA has straightforward info on cosmetic labeling and safety basics: FDA cosmetics labeling regulations.
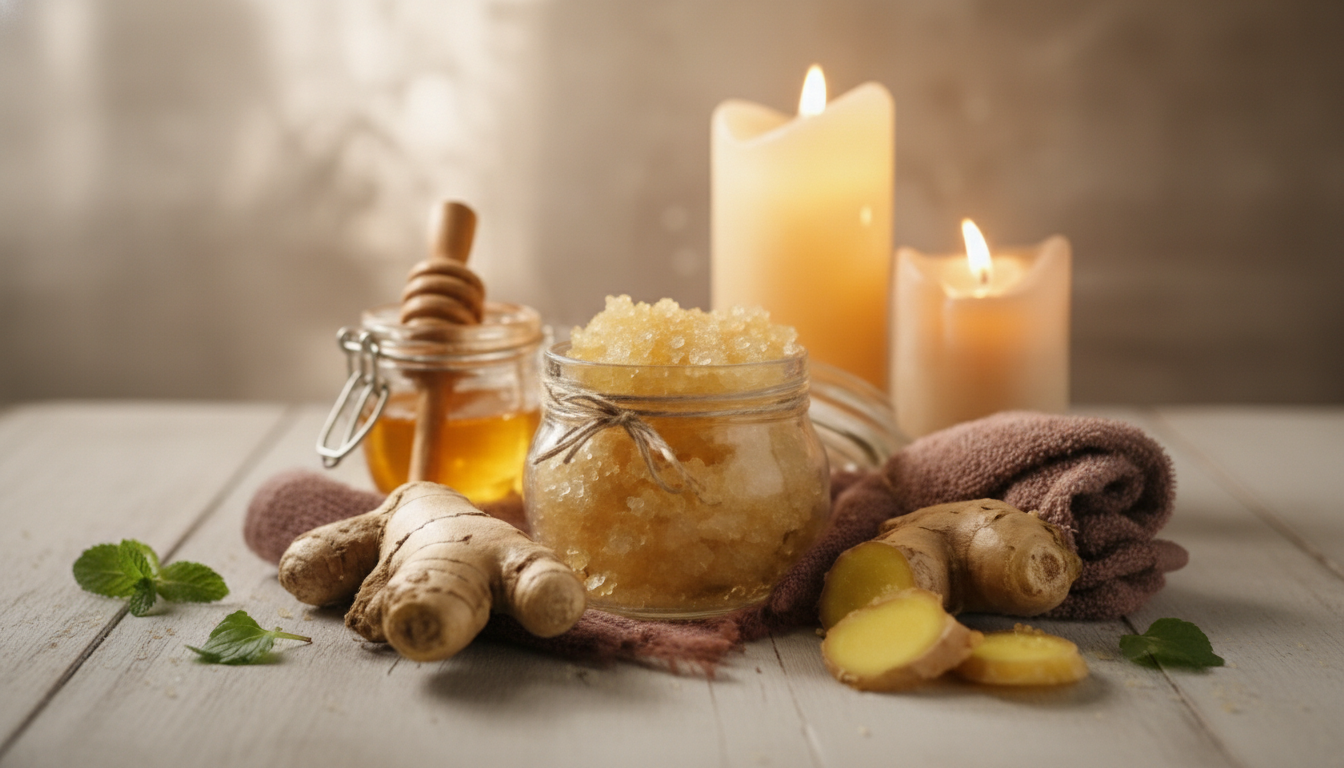
Easy base recipe (reliable ratio that’s hard to mess up)
This is the “wet sand” method: scoopable, not runny, and easy to adjust.
- Basic ratio: 2 parts sugar to 1 part oil (adjust for a thicker or looser scrub).
- Small batch example: 1/2 cup sugar + 1/4 cup oil; stir until it resembles wet sand.
- Optional: add 1 teaspoon honey or 4–8 drops essential oil for scent (keep it low).
- Store: in a clean, dry jar with a tight lid; label with date and ingredients.
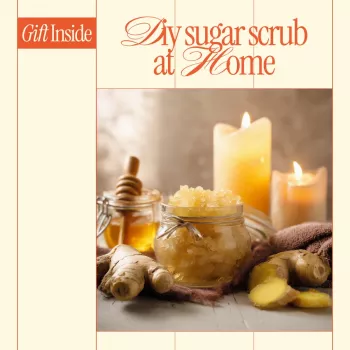
Want a repeatable format you can print or save? The digital download DIY Sugar Scrub at Home – Easy Guide (Digital Download) lays out ratios, variations, and quick reminders in a ready-to-use layout.
Step-by-step: how to use a sugar scrub without overdoing it
The difference between “soft and smooth” and “why is my skin mad?” usually comes down to pressure and frequency.
Variations for different needs (mix-and-match ideas)
If you’re putting together a small self-care gift bundle, pairing a scrub jar with something practical can make it feel more complete—like the premium leather strap for Apple Watch or the corduroy fabric strap for Apple Watch for an everyday upgrade.
Safety, patch testing, and smart storage
Printable guide for consistent results
If you like a repeatable routine (or you’re making multiple jars for gifting), a simple checklist helps you stay consistent with ratios, mix-ins, and storage notes. Download the DIY Sugar Scrub at Home – Easy Guide on how to make your own sugar scrub, Natural Skincare Digital Download to keep your favorite combinations in one place and print instructions for anyone you gift it to.
FAQ
What is the best sugar to make sugar scrub with?
Granulated white sugar is a versatile default for most body areas because it exfoliates well and dissolves fairly quickly. Brown sugar is gentler due to softer grains, making it a good choice for sensitive-leaning skin. Very coarse sugars can feel harsh, so save them for tougher spots like heels rather than delicate areas.
How long does homemade sugar scrub last?
When stored in a clean, dry jar and kept free of shower water, homemade sugar scrub often lasts about 1–2 months. Use clean tools or dry hands each time, and discard it if the smell, color, or texture changes. Fresh add-ins (like fruit) shorten shelf life significantly and are best avoided for longer storage.


Leave a comment