Leaf Art Projects: Press, Print & Collage (Printable)
Creative Leaf Art Projects to Try Today: Printable Nature-Craft Guide
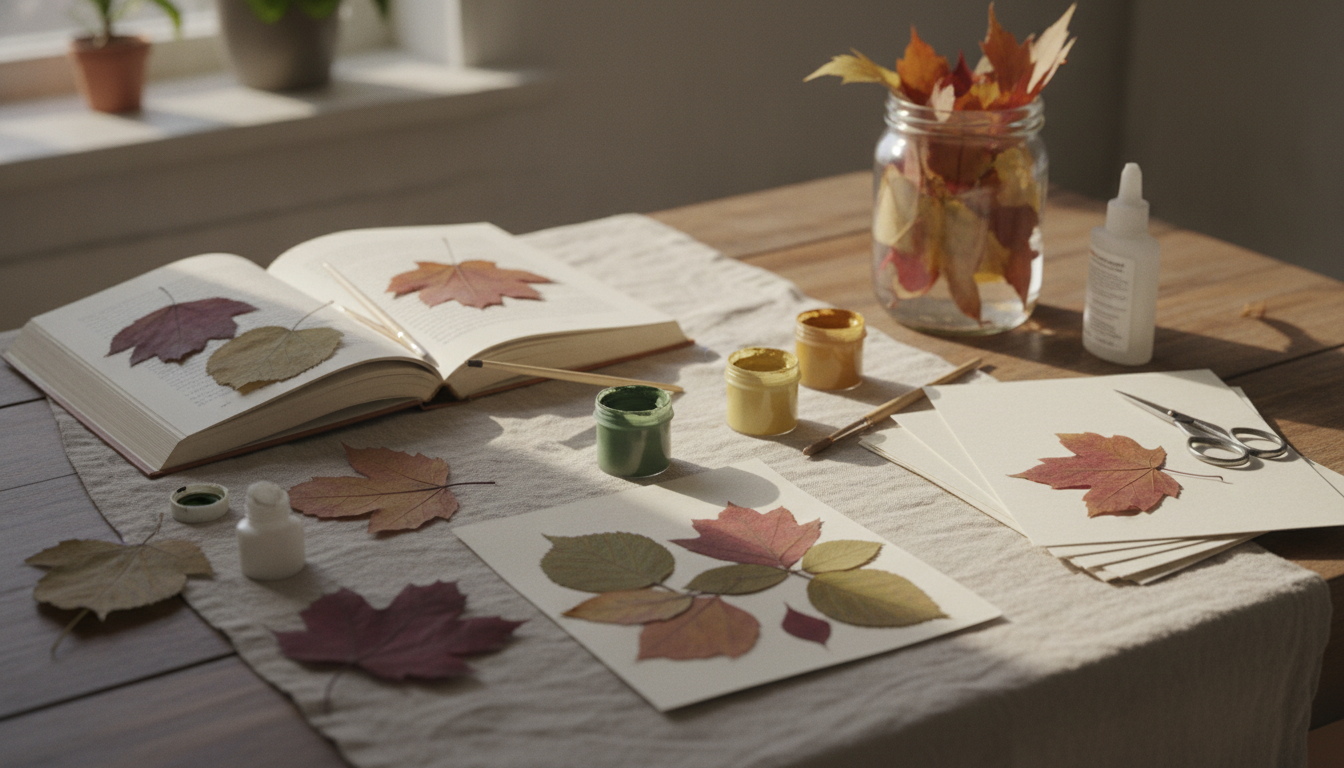
Leaf art turns a simple walk outside into a set of ready-to-use shapes, textures, and colors for crafting. With a few easy prep steps, leaves become crisp collage pieces, printmaking tools, and décor accents that feel seasonal without being fussy. Below are quick-to-start leaf art ideas organized by materials and skill level, plus practical tips for gathering, pressing, and preserving leaves so finished projects hold their shape and stay vibrant longer—whether you’re planning a kid-friendly afternoon activity, a calming DIY art session, or handmade gifts.
Gathering Leaves Without Damaging Plants
Start with what nature has already dropped. Fallen leaves are plentiful, easy to collect, and don’t stress living plants. For more variety, look for multiple silhouettes and textures—broad maple-like shapes, narrow willow-like leaves, fern fronds, and heavily veined or serrated edges for contrast.
Skip leaves showing rot or pests (soft spots, webbing, heavy spotting) unless you’re making a short-term project like a quick rubbing. Collect on dry days when possible; damp leaves are more likely to curl or mold while pressing. Bring a paper envelope or a notebook to keep your finds flat during the walk. For responsible outdoor collecting practices, the U.S. National Park Service has helpful guidance on low-impact recreation.
Pressing, Drying, and Keeping Color
Pressing is the difference between a tidy, framable leaf and one that cracks or curls mid-glue. The classic book press method is slow but reliable: place leaves between plain paper, put them inside a heavy book, and wait 7–14 days. For last-minute crafting, iron pressing works in minutes—use low heat and parchment paper as a barrier, and test one leaf first.
If you want better shape retention (less curling), silica gel can dry small leaves and petals quickly. Whatever method you choose, press soon after picking to reduce browning, then store finished leaves away from sunlight and humidity. If durability matters—bookmarks, garlands, classroom pieces—seal finished art with a clear-drying craft sealer (spray or brush).
| Method | Best for | Time | What to watch for |
|---|---|---|---|
| Book pressing | Flat collages, garlands, bookmarks | 7–14 days | Replace paper if it feels damp |
| Iron pressing | Last-minute crafts | 5–10 minutes | Use low heat; avoid scorching |
| Silica gel drying | 3D keepsakes, wreath accents | 1–3 days | Handle gently; fine leaves can become brittle |
| Air drying (weighted) | Sturdy leaves for rustic looks | 3–7 days | Higher risk of curling |
Tools and Supplies to Set Up a Leaf Art Station
A simple setup keeps projects moving and reduces mess. Start with the basics: child-safe scissors, a glue stick, liquid craft glue, tape, and sturdy paper (cardstock or watercolor paper). For cleaner placement, add tweezers and a soft paintbrush to spread glue thinly under fragile edges. A bone folder or the back of a spoon helps smooth pieces without tearing.
For backgrounds, keep markers, watercolor pans, metallic pens, and textured paper scraps nearby. Protect your surface with a craft mat or newspaper and create a flat drying area where pieces can rest undisturbed. Optional add-ons: laminating sheets for bookmarks and small labels for gifting or framing.
Quick Projects (10–20 Minutes)
Leaf rubbings
Slide a leaf under paper and rub with a crayon or soft pencil. Layer multiple shapes to create a patterned page that can become wrapping paper, a notebook cover, or a framed print.
Nature confetti cards
Punch or cut tiny leaf pieces to form borders, hearts, or initials on greeting cards. Use a glue stick for less wrinkling on thinner paper.
Leaf silhouette stamps
Paint the underside (vein side) and press onto paper. Repeat with different colors for a simple series that looks cohesive as a set.
Mini mandalas
Leaf name tags
Classic Leaf Art Favorites (Collage, Characters, and Landscapes)
Printmaking and Mixed-Media Leaf Art
Home Décor and Giftable Leaf Crafts
Kid-Friendly Variations and Classroom Extensions
For science connections, sort leaves by edge type (smooth, toothed, lobed) and make an “identification wall.” If you want less mess, use glue dots instead of liquid glue for quick assembly. A rotating “season board” that changes monthly keeps displays fresh and makes the process feel ongoing rather than one-and-done. For plant and garden learning inspiration, browse the education resources from Smithsonian Gardens.
Troubleshooting: Curling, Crumbling, and Mold
Printable Guide: Project Lists, Templates, and Checklists
Try the Printable Leaf Art Project Pack
For a quick, organized way to keep ideas flowing year-round, the Printable leaf art projects guide includes ready-to-use project prompts designed for flexible skill levels and easy setup. It pairs well with common supplies (paper, glue, markers, and collected leaves) and works for rainy-day crafting, classroom stations, parties, or weekend nature-craft plans.
If you like tracking time on presses, drying, or quick-print sessions while you craft, a comfortable wristband can help keep your hands free—consider the premium leather strap for Apple Watch as a simple add-on.
FAQ
How long do leaves need to be pressed before crafting?
Most leaves press well in about 7–14 days using the book method, while thicker or waxier leaves may take longer. For faster results, try iron pressing (minutes) or silica gel drying (1–3 days) depending on the look you want.
What’s the best way to keep pressed leaves from turning brown?
Press leaves soon after picking, keep them dry, and store finished pieces away from sunlight and humidity. Sealing finished art helps slow fading, though some color change is natural as chlorophyll breaks down over time.
Can leaf art be sealed or laminated without ruining it?
Yes—light coats of clear-drying sealer work well for framed art, and adhesive sheets or lamination are great for bookmarks. Test first on a spare leaf, since very brittle leaves can crack if pressed too hard during sealing or lamination.













Leave a comment