Gaming Mouse on MacBook: Wired, Bluetooth, or Dongle?
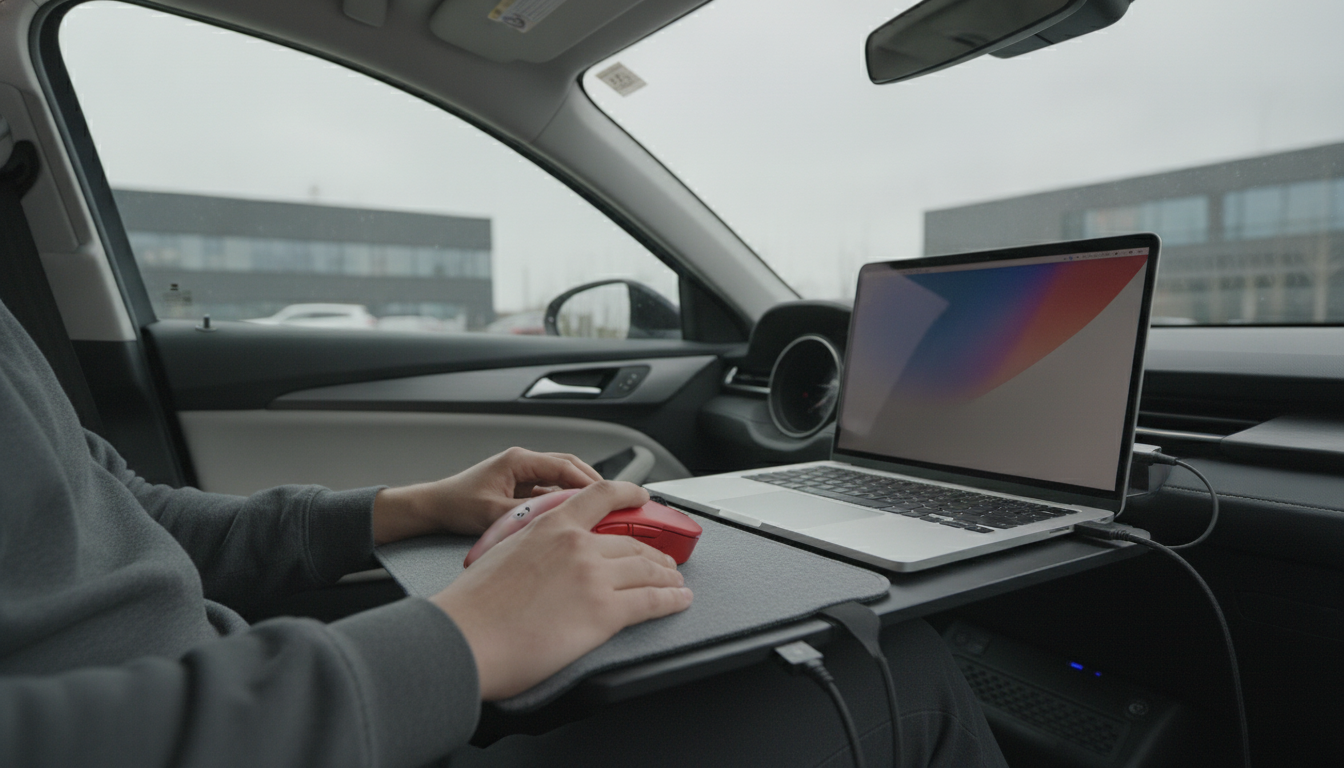
Can you connect a gaming mouse to a MacBook?
Yes—most gaming mice connect to a MacBook with no special tricks, as long as you pick the right connection type. A wired gaming mouse typically works immediately when plugged into a USB-A port (via a USB-C adapter or hub if your MacBook only has USB-C). Wireless gaming mice usually connect either over Bluetooth or with a 2.4GHz USB receiver (dongle), and both options are common on macOS.
Wired gaming mouse on MacBook
If your mouse uses USB-A, connect it through a USB-C to USB-A adapter or a USB-C hub. macOS will recognize it automatically for basic movement and clicks. For extra buttons and lighting, you may need the brand’s macOS software—though some gaming suites are Windows-only, so advanced macros may be limited.
Wireless gaming mouse on MacBook (Bluetooth vs. USB receiver)
For Bluetooth mice, go to System Settings > Bluetooth, put the mouse in pairing mode, and select it. For 2.4GHz receiver models, plug the dongle into your adapter/hub; the mouse should pair instantly. Receiver-based connections often feel more consistent for gaming, while Bluetooth is convenient when you don’t want to use a port.
How to get the buttons and scrolling feeling right
Open System Settings > Mouse to adjust tracking speed and scrolling direction. If your mouse has extra side buttons, they may register as standard inputs without customization; for model-specific tuning (like silent clicks or button mapping), check a dedicated guide on choosing a Mac-friendly mouse setup, including quiet options: https://grandofferhall.shop/guide-quiet-4-button-wireless-mouse-for-mac-mute-clicks/.
Common issues (and quick fixes)
If the cursor stutters, try moving the USB receiver closer using a short extension, switching USB ports, or charging the mouse. If a mouse won’t pair over Bluetooth, remove it from the Bluetooth list and pair again. For inconsistent scrolling, check for driver utilities or macOS accessibility settings that affect pointer behavior.
FAQ
Does a gaming mouse work on a Mac without drivers?
Basic pointing, clicking, and scrolling usually work immediately on macOS. Extra features like DPI switching, RGB control, and macro programming may require software, and some brands offer limited Mac support.













Leave a comment